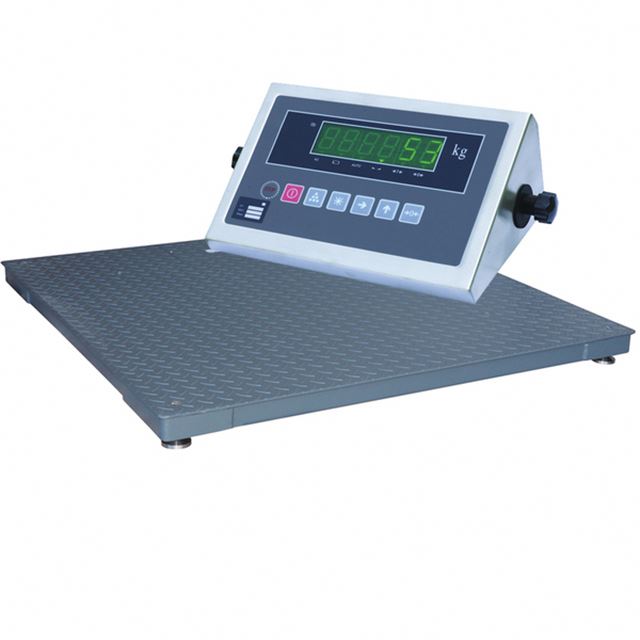
Electronic floor scale site fault treatment measures
Keyword:electronic floor scale Time:2019-11-12 9:21:26
Electronic floor scale site fault treatment measures
1. Make systematic troubleshooting for each component before use
Prior to the test, close communication should be conducted with the floor scale to fully understand the daily maintenance and use of the electronic floor scale, and then targeted work should be carried out according to the relevant information. Then, the leveler can be used to detect the levelness of a single foundation plate, the height difference between the foundation plates can be detected with a level, and the percussion sound can be used to judge the fullness of the equipment and see whether there is no air cavity. At the same time, the rationality of limit clearance should be checked, clearance around the symmetrical platform should be cleaned to prevent the gap from being stuck by foreign bodies, and the bottom of the symmetrical platform should be cleaned to effectively prevent foreign bodies such as garbage from holding the scale. In addition, the sensor head, steel ball and other connecting parts of the weighing table should be well checked to eliminate the parts loose and damaged, and the rust can be protected by spreading butter.
2. Do a good job in daily maintenance of weighing instruments
Generally, the operating environment temperature of the instrument should be maintained at -10°~45 ° c, and the air humidity should not exceed 90%. The instrument should use a special stabilized voltage power supply to improve its stability and ensure its normal operation. If the meter has not been used for a long time, it should be electrified before re-use to ensure that it can be used safely. Once there is a fault in the use of the instrument, the power should be cut off immediately, and then assign maintenance personnel to carry out maintenance in a timely manner, try to avoid unauthorized disassembly and inspection, affecting its normal use.
3. Non-return to zero treatment after starting up or loading and unloading of the instrument
If the reset range is set too small, it is usually necessary to reset the instrument. At the same time, it is necessary to check whether the weighing body is stuck by a foreign body. The foreign body in the weighing body should be cleaned timely to ensure the flexibility of the weighing body. Some of them are caused by the zero drift of the sensor. In this case, it is usually necessary for relevant technicians to carefully check the sensor and test whether the output signal of each sensor is within the normal range on the premise that no weight is put on the weighing table. If the zero drift of the sensor is not very serious, just calibrate the instrument. If the drift is serious, the sensor needs to be replaced.
4. Handling measures to show large weight error
During verification, it is often found that there is a large error in the detection results of the size tonnage. In order to improve the accuracy of verification, the following measures can be taken to deal with it. For the error of small tonnage verification, it can be processed by repeated detection. Large-tonnage verification prone to stop card to death, or because there is foreign body between the machine-team and base, make the said body deformation during testing which in turn lead to adverse, the sensor is linear to the occurrence of this kind of problem, generally, the screening method can be used to confirm the fault, then the corresponding solution measures are taken, and ensure that the relevant verification work can be smoothly.
5. The weight of the scale is not linear
In the specific verification, whether the weight should be increased or decreased shall be determined according to the mass of the weight, and the value displayed by the instrument shall be increased or decreased linearly. If this is not the case, the scale body should be checked to see whether there is a foreign body around it or whether the limit clearance of the limit device is normal. If there is a foreign body, it should be cleaned around the scale body and make the transverse limit clearance of the limit device ≤2mm and the longitudinal limit clearance ≤3mm. If prior inspection has been conducted and no problems have been found, the sensor can be preliminarily determined to be a problem.


- No information
-
1. Design objective of electronic crane scale network management. (1) Adopt advanced distributed data processing techno…
-
Electronic crane scale bearing platform installation to focus Electronic crane scale can be installed generally on the li…


